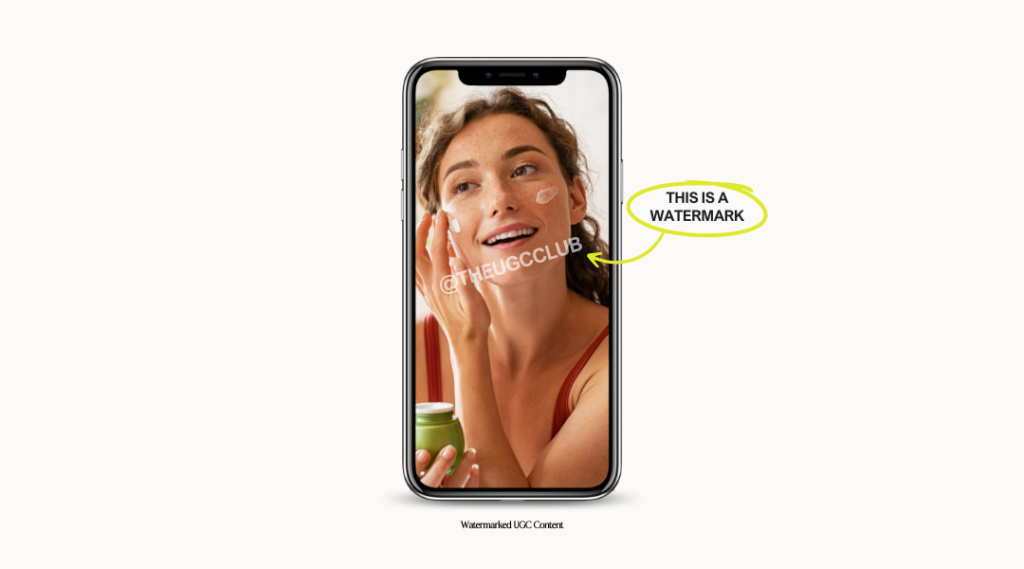
In 2023, learning how to watermark your UGC content is a must.
In the world of UGC, there is only one thing worse than a brand ghosting you… a brand ghosting you after you’ve already sent the content. The only saving grace? A watermark.
In the vast digital landscape, where content can easily be shared and repurposed, your UGC content deserves protection.
A watermark is an unobtrusive yet powerful addition that acts as a guardian against unauthorized use, ensuring your creative efforts are acknowledged and respected.
So, how do you watermark your UGC content?
Why Do You Need A Watermark?
If you’re sending content to a brand that hasn’t paid the full balance or you’re trying to upsell additional UGC content, you need to watermark your content.
A watermark is visible, typically translucent, image, text, or pattern that is overlaid on top of your UGC content. Watermarks are used for various purposes, including copyright protection, branding, and ownership attribution. They are often applied to prevent unauthorized use, distribution, or duplication of the content by adding a visible layer of identification.
I’ve heard horror stories of brands ghosting before paying creators for their work. If you’ve not got a watermark over your content, you’re not protected. End of. For all you know, they’re running ads in Taiwan and you’ve not seen a cent.
It also doesn’t need to be as extreme as a brand stealing your content and running for the hills. You could go through numerous rounds of revisions, each time, the brand has extra footage or content to use in the future. If they’ve not paid for it, they shouldn’t.

How To Add A Watermark to UGC Content
Watermarking your UGC work is easier than saying 1, 2, 3.
The easiest way to protect your work is using CapCut, but you can also use any editing video software you feel comfortable with. Final Cut Pro, Adobe Premiere Pro, heck, even Canva — you name it, you can add a watermark with it.
To add a watermark on CapCut:
〰️ Choose a Watermark: Decide whether you want to use a text-based watermark (such as your UNPAID PROOF) or your username. Add this using text in CapCut.
〰️ Position and Size: Determine where you want the watermark to appear on the content — the easiest place is across the center. Adjust the size of the watermark to make it noticeable but not overwhelming. The brand needs to be able to see the content.
〰️ Adjust Opacity: To maintain the content’s visibility, adjust the opacity of the watermark. Head to style, scroll down to opacity and adjust. It should be visible enough to identify the source but not so opaque that it obscures the content.
〰️ Extend Time: Head to your timeline and extend the length of the effect to cover the entire video.
〰️ Save and Export: Once you’re satisfied with the placement and appearance of the watermark, save the edited content. You can export it in various formats.
Once the brand is happy with the content and ready to pay, go ahead and remove the watermark and send the completed content.